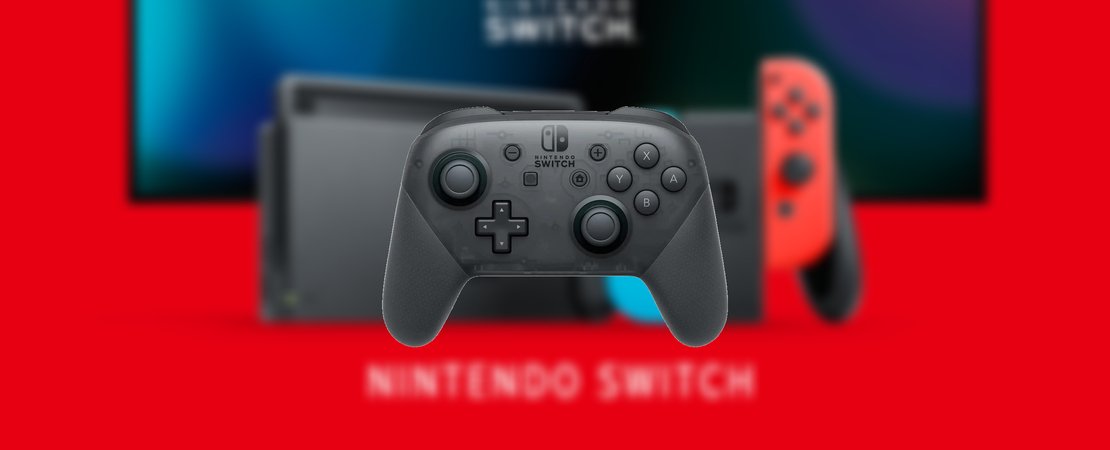
How to Use the Nintendo Pro Controller on the Steam Deck. A simple explanation of how to play your favorite Steam games with the comfort and precision of the Pro Controller. This article will explain step by step how to connect the Nintendo Pro Controller to the Steam Deck.
Step 1: Press the Steam button.
To start the process, you need to open the Steam app on the device. To do this, press the Steam button on the Steam Deck.
Step 2: Go to the Bluetooth options.
Once the Steam app is open, scroll to the bottom of the menu and go to the Bluetooth options.
Step 3: Pair the Nintendo controller.
To put the Nintendo Pro Controller into pairing mode, now press and hold the small button at the top of the controller. This button is usually located near the LED indicator light.
Step 4: The Pro Controller appears in the Bluetooth menu of the Steam Deck.
Once you have pressed and held the button on the Nintendo Pro Controller, it should appear in the Bluetooth menu of the Steam Deck.
Step 5: Click on the Pro Controller icon to connect.
Once the Pro Controller appears in the Bluetooth menu, click on the Pro Controller icon to connect it to your Steam Deck.
Step 6: Blue light indicates controller is connected.
After you have successfully connected the Nintendo Pro Controller to the Steam Deck, the Home button on the controller should light up blue to indicate that it is connected.
That's it! Now you're ready to play your favorite Steam games with the precision and comfort of the Nintendo Pro Controller. With this setup you can enjoy a more immersive gaming experience, with improved control and reaction time
