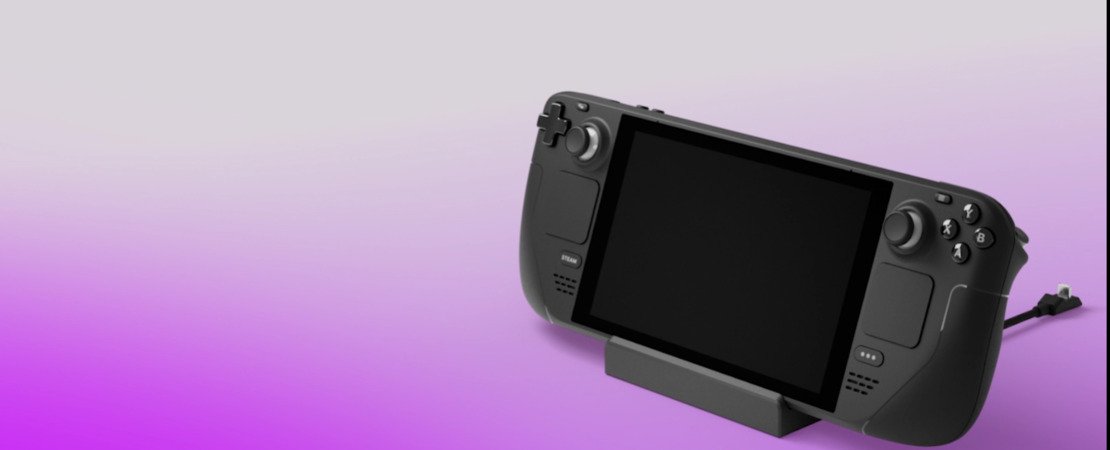
Why Windows on the Steam Deck?
The Steam Deck comes with SteamOS by default, but some of you may prefer to use Windows 11 as your operating system. Why? Because it gives you access to even more games and applications that are not available on SteamOS. But be warned: Installing Windows is not officially supported by Valve and requires some preparation. Additionally, dual booting with both operating systems is not possible.
Requirements for Installing Windows 11
Before you begin installing Windows 11 on your Steam Deck, make sure you have the following:
- A USB stick with at least 32 GB of storage space for the Windows installation.
- A second USB stick with 8 GB of storage space for the Steam Deck drivers for Windows.
- A valid Windows license.
- A USB-C docking station with Ethernet port and two USB-A ports for a wired keyboard and mouse.
Installing Windows 11 on the Steam Deck: Step-by-Step Guide
Have you met all the requirements? Then let's get started! Here is the step-by-step guide to installing Windows 11 on your Steam Deck:
- Download Windows 11 and create a bootable USB stick.
- Download the Steam Deck drivers onto a separate USB stick.
- Boot from the USB stick with Windows on your Steam Deck.
- Install the Steam Deck drivers.
Congratulations, you have installed Windows on the Steam Deck!
You have successfully installed Windows 11 on your Steam Deck! Your device is now a portable Windows PC that gives you access to a wider selection of games and applications than before under SteamOS. However, please note that this installation is not officially supported, and any issues that may arise may not be covered by Valve's support team. Have fun exploring your new portable gaming PC!

